


This month, we'll be taking on the recent trend of hand lettering, an assignment which posed a special challenge for me. After several decades of battling lupus, I have a tremor and some weakness in my grip in my hands. This doesn't interfere with my preferred forms of crafting on a day-to-day basis but can hamper my ability to do certain things - like the detailed pen work required for hand lettering.
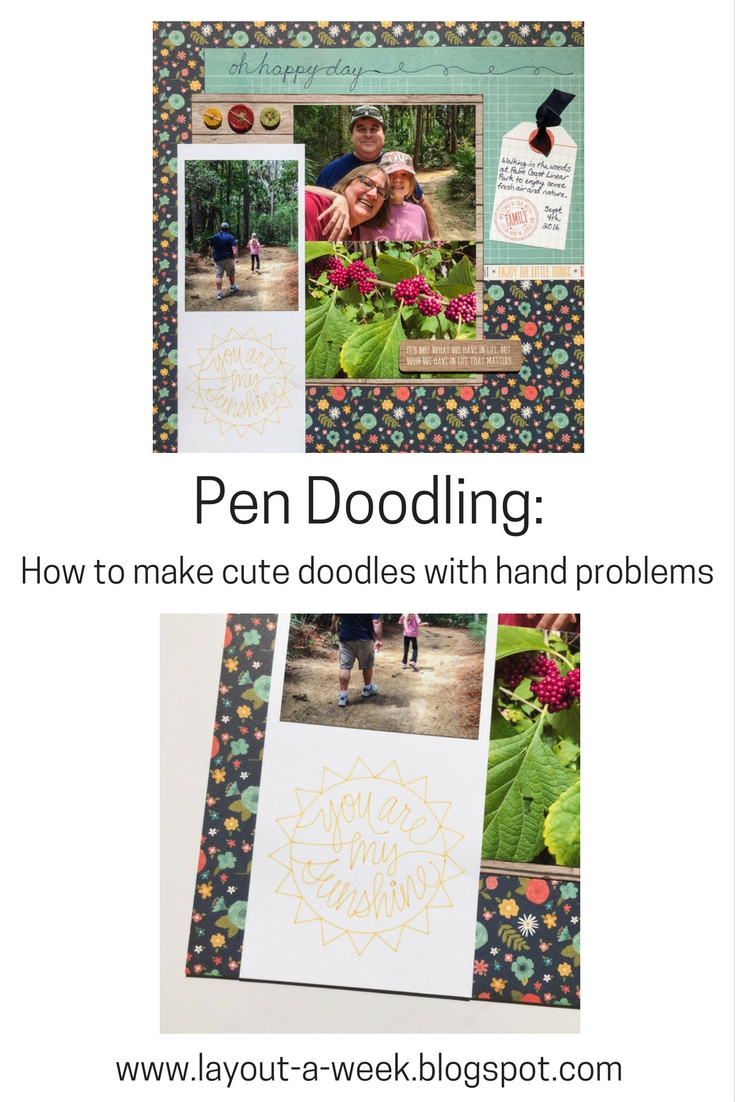
So what's a girl to do when she wants to make fun doodling like this on a layout?

The answer for me is to pull out my Cricut Explore machine, and let the machine's steady "hand" do what mine can't - draw from beautiful doodle files designed by talented designers like my friend Jen Goode of JGoodeDesigns.

Here's the beautiful result, a layout that makes me look like a doodling master (shh, don't tell!):

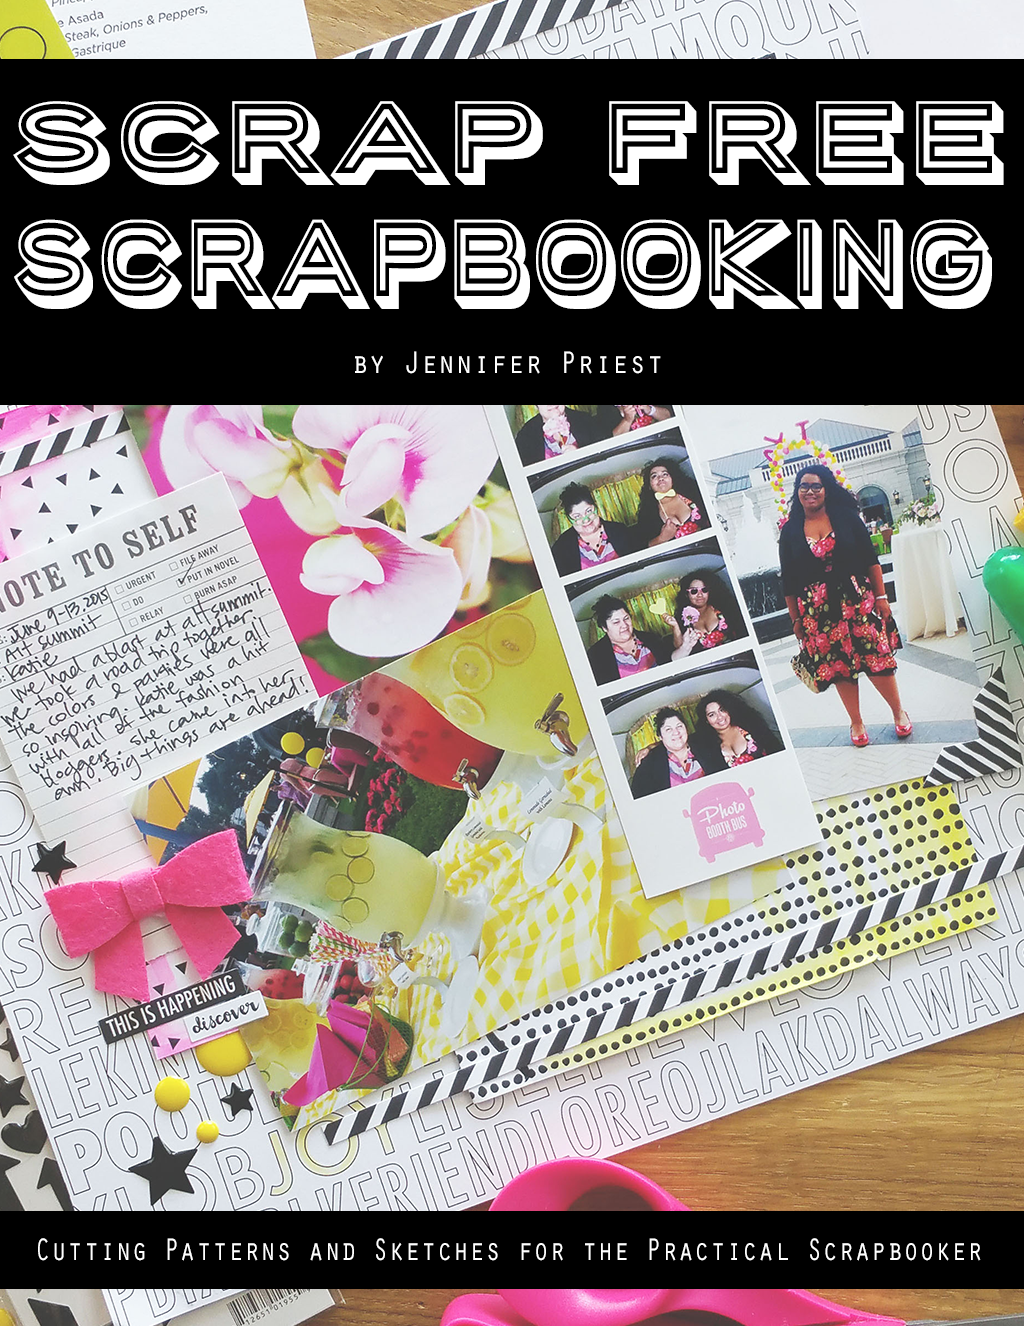
This layout was created using the fabulous [affiliate link] Scrap Free Scrapbooking eBook by Jennifer Priest, which contains sets of layout patterns that allow you to quickly design multiple layouts from only a few sheets of paper. The system is fast and affordable! This layout is based on one of the layouts in cutting pattern #2.
To begin this layout, I printed out my photos in the sizes I thought would work. The large photos I printed out in their native aspect ration from the iPhone. It doesn't quite fill a 4x6 photo, leaving a bit of space on each end, which was perfect for the size that I had available on the layout. I slightly trimmed the top and bottoms of these photos before sticking them down, as well.
The small vertical photo is printed at 3" x 4", which has become more of a standard size since the advent of Project Life in recent years.

The first elements that I created for the layout were the two doodled elements. These were created with my Cricut Explore machine using pen doodling files by JGoode Designs that are available from the Cricut Design Space online store. As shown in the photo earlier, for the "sunshine" element I made the doodle the size I wanted on a blank piece of paper and then trimmed the piece down to the size that I needed for the layout.
For the patterned paper the doodling was a bit more complicated. I needed to place the doodling in exactly a certain spot and I needed to get it right the first time since I only had one piece of the patterned paper! So I tested the placement of the doodle first on a piece of scrap paper in a trial run, and then did the real thing on the patterned paper once I knew that I had it correct.

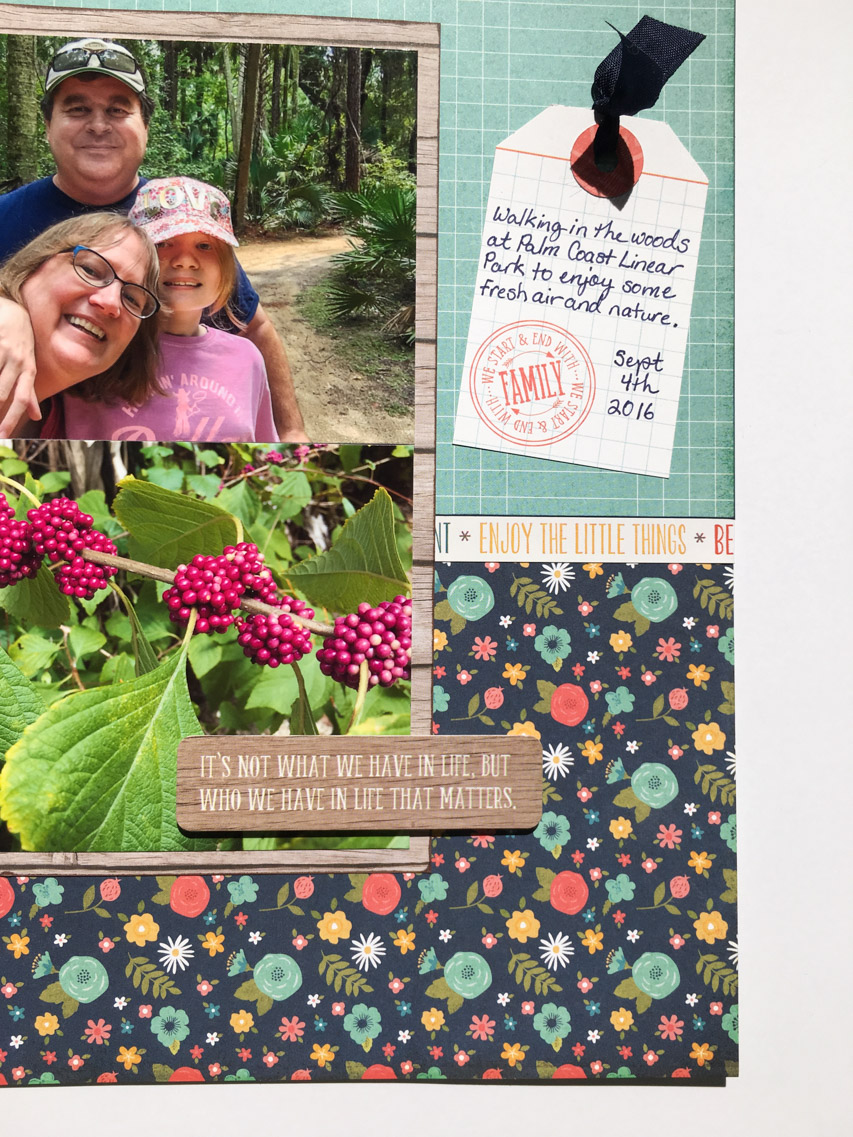
Once the doodling was done, I adhered down the large paper blocks and photos. Before I did this, though, I reached for my Colorbox Fluid Chalk Ink and edged all of the patterned paper blocks with ink. This is a small detail that doesn't jump out to the naked eye, but when you look closely at the photo below, you can see that it really helps the edges "pop" and separates the layers from each other. I love using Colorbox Fluid Chalk for this technique because of how smooth it goes on, and how it dries to a matte finish that blends with the paper.
Then I turned my attention to the layout's embellishment details. This area in the corner of the wood paper block seemed too empty so I filled it with a trio of buttons. By using the Buttons Galore "Harvest" Button Bonanza and then tying the buttons off with twine, it added a touch more of fall emphasis to the layout by highlighting the more fall colored tones in the patterned paper.

On the other side of the layout, I also added some dimension by attaching a quote sticker using foam dot adhesive. In addition to creating dimension, this also separated the sticker visually from the photo it overlapped.
The border sticker was tucked under the edge of the photo block and tucked around the back. I specifically chose this section of the sticker to be visible because of the sentiment and because I needed a bit more yellow to balance the layout.
The journaling tag was cut from a pocket card sheet in the paper collection, but I made a small modification to it. The original pocket reinforcement circle was turquoise, the same color as the patterned paper behind it. I wanted more contrast, so I cut a new one out of a scrap of the coral color patterned paper from the collection. To keep the layout cohesive, I wrote my journaling with the same blue Cricut pen that I had used for the doodling at the top of the layout.
Don't be discouraged if you can't do beautiful lettering! Let your die cut machine and the talented artists who design for it be your hands!
Supplies Used:
- Echo Park "The Story of Our Family" collection pack
- Cricut Explore machine & JGoodeDesigns pen files
- Cricut Explore pen sets in Candy Shop & Southwest
- small hole punch
- Xyron Mini
- Colorbox Fluid Chalk "Primary Pastel" Paintbox
- Colorbox Fluid Chalk "Chestnut Roan" Mini
- jute twine
- blue ribbon
- foam dot adhesive
- PPA Matte Adhesive
- Buttons Galore "Harvest" Button Bonanza

No comments:
Post a Comment
Leave us some scrappy love!